Our major obstacle in maximizing our three-bedroom abode was maintaining a space for both me and Wayne to work on our individual projects--me with my scrapbooking and crafts, and Wayne with his... computer games. (Okay, I guess there's also lesson planning for work and preparing for Bible study... but definitely plenty of computer games.) Our ultimate solution was to purchase a smaller desk for Wayne and move both desks into our bedroom, along with our brimming bookshelves which were originally in the guestroom. Before babies were in the equation, we both had our own entire rooms, so this moving in together took some adjusting to. We joke that our new arrangement is reminiscent of dorm life, or that with all this added furniture in one small space, it's like living in an IKEA showroom, but actually, I quite like our new set-up.
Here are some before and after photos:
Master Bedroom--Before
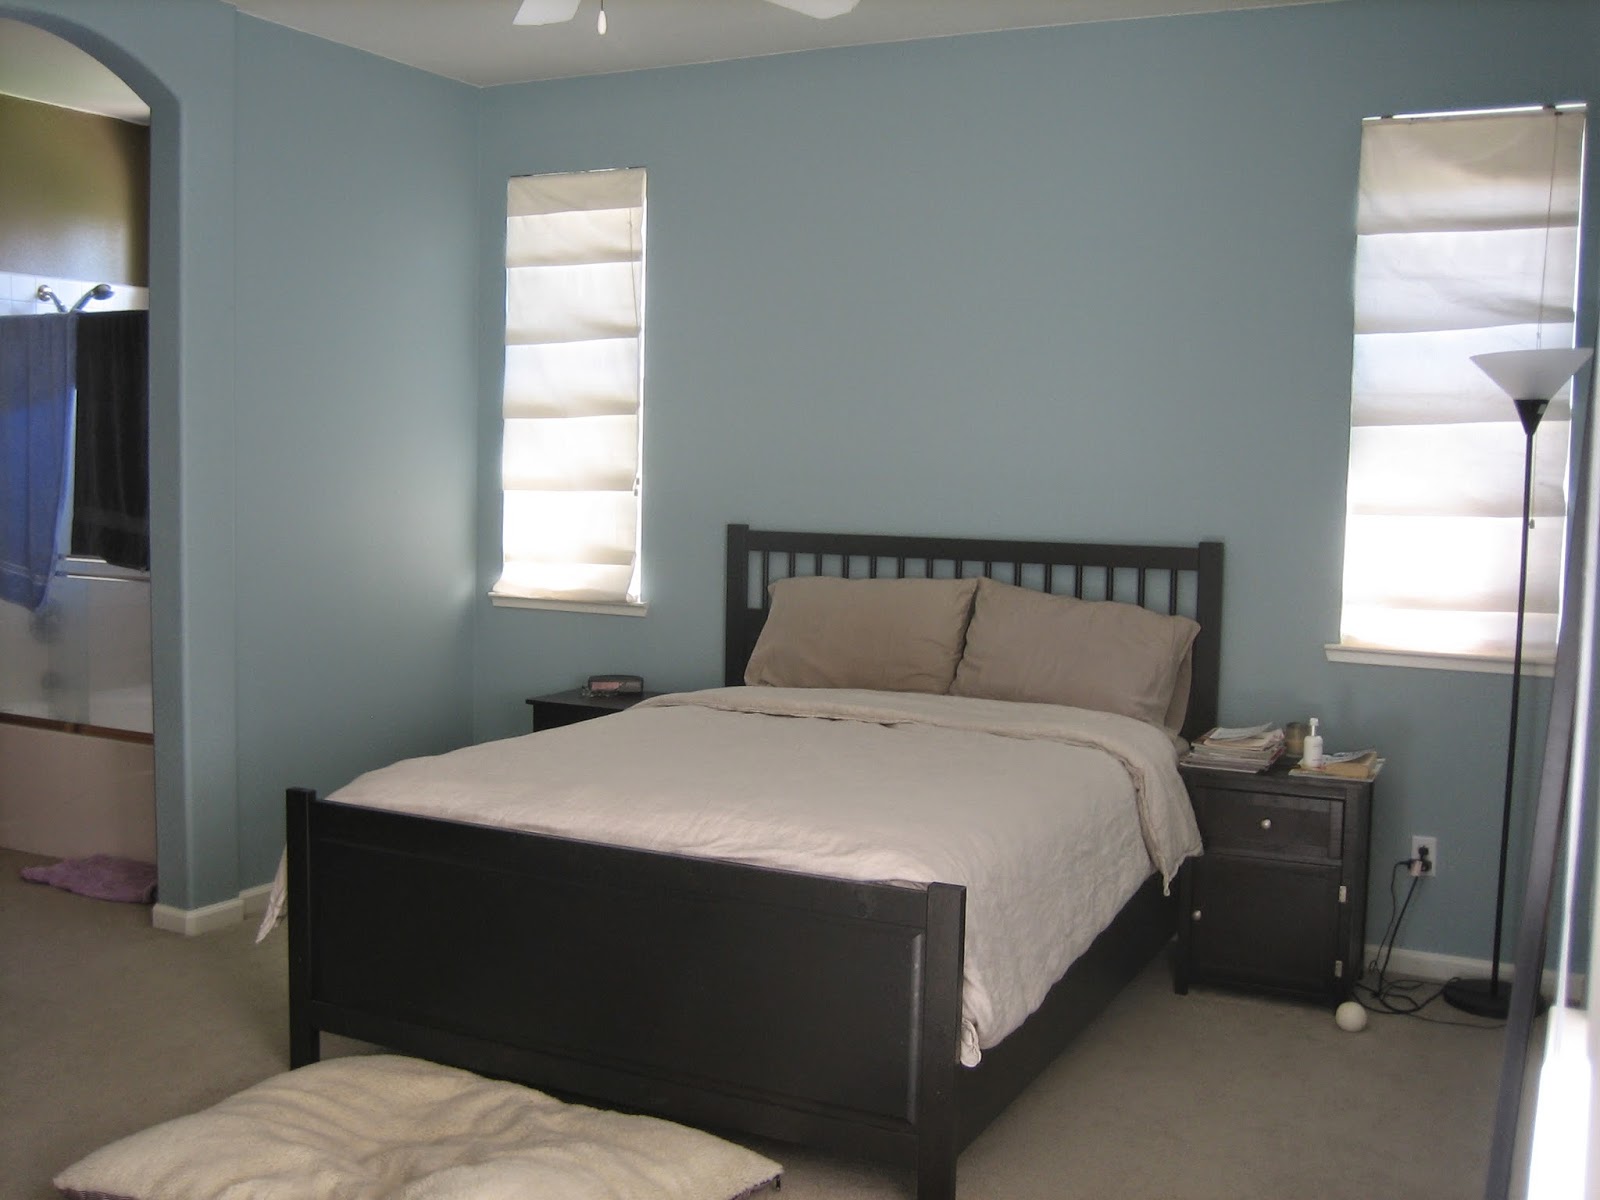
I can't believe we lived in this sad, sad cell for over four years before putting up any sort of decor or color! Since it was a room that most people didn't see but us, it became last on my priority list.
After

This is much happier! And a smarter use of space. 1. Framed fabric, inspired by a friend's crafting post. 2. Wayne's smaller, sleeker desk operates as a work station and nightstand. Side storage compartment houses messy computer wires and a built-in USB hub. 3. What a difference one decorative pillow makes! 4. Billy bookcases from IKEA lined in the back with shelf paper for a custom look. 5. These lamps from Target placed up high were an economical alternative to recessed lighting. 6. My big, honking desk fits! Yay!


Wall gallery of photos FINALLY up!
Living Room--Before


After

1. I constructed this window seat using two IKEA Kallax shelves, following this tutorial. 2. IKEA Drona fabric bins in white are painted with fabric paint to coordinate (I used Martha Stewart satin finish craft paint in "wet cement".) 3. Envelope pillow covers are my new sewing obsession! 4. Rug from overstock.com.

Caedmon now has so much more space to play, and his toys are neatly tucked away when not in use.

Some window seat tutorials recommend attaching legs to the bottom of the structure, but when we did, the seat was too high for my short limbs, so we had to take them off. Another roadblock we came across was how to level the window seat, since ours rests partially on the rug and hardwood. What we ended up doing was inserting random pieces of thin wood under the seat on the hardwood (an extra shelf from a bookcase and leftover wainscoting from the previous homeowners)--simple, economical, and effective!


Guest Room--Before

After

This room is definitely still a work in progress, as I'd like to put up curtains and, perhaps, reupholster the armchair, which right now, is a complete eyesore against the grays and yellows. Still, I don't want to invest too much into this room, since it will be probably be Caedmon's before long, and I'll have to change everything again. I do absolutely love the map art from my sister and brother-in-law; it will work even when this room becomes Caedmon's.